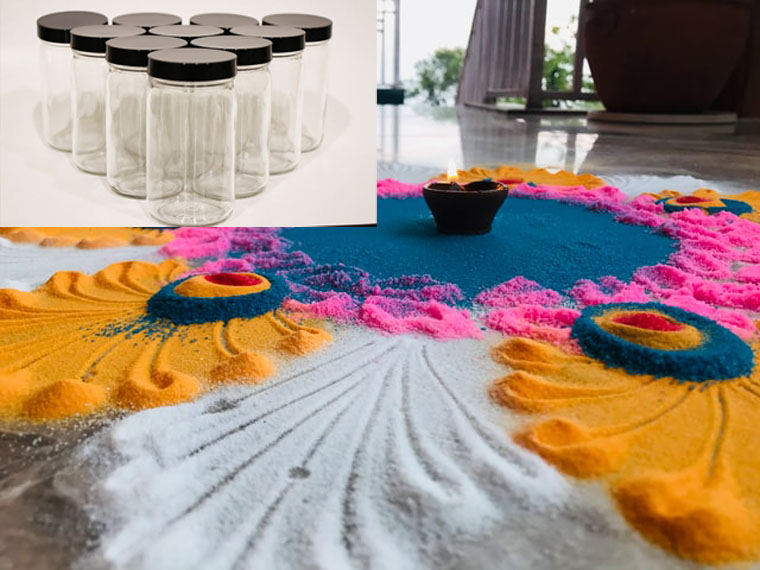
Making beautiful rangoli with bare hands is difficult. This can be done easily with rangoli tools. Out of these rangoli tools, the rangoli filler tool is an important rangoli. WIthout rangoli filler tool your making a beautiful rangoli design is impossible.
Rangoli Filler Tool is an important rangoli tool to make beautiful rangoli. The main purpose of using Rangoli Filler Tool is that it evenly spreads the rangoli over the rangoli design you are making. So, Rangoli Filler is one of rangoli tools to evenely sperad the rangoli or strain the rangoli to make beautiful design.
In this post, I will give you all the information about the rangoli filler tool. How you can make it, what materials are required, use of rangoli filler tool etc.
Rangoli Filler is Also Known As
Rangoli Filler Tool is known by many other names. I will list them one by one.
- Rangoli Color Filler
- Rangoli Strainer
- Rangoli Bottle
- Rangoli Plastic Filler
Material for Rangoli Filler Tool
Rangoli Filler is made form the following materials.
- Plastic
- Stainless Steel
- Hard Wood
Basically, the rangoli filler tool is made of plastic. As plastic is cheap, light weight and easy to handle. You can press or tap the rangoli filler to drop the rangoli colors from it.
Alternatively, stainless steel and wooden rangoli filler come. They are expensive but long lasting. You have to shake these rangoli fillers to make the rangoli color come out on the design you are making.
Plastic Rangoli filler is found everywhere in the market and e-commerce websites. You can rarely find stainless steel and wooden rangoli filler.
Parts of Rangoli Filler Tool
Rangoli Filler Tool has 4 parts. They are as follows.
- Strainer
- Filler
- Mouth
- Cover
Strainer
Strainer is the most important part of a Rangoli Filler Tool. It stains the rangoli powder over your rangoli design. You will notice that rangoli is spread evenly in the form of tiny granules when you use rangoli filler.
Filler
Filler is the part of rangoli filler that holds your rangoli color. It is the middle portion of the rangoli filler tool. Usually, the amount of rangoli you can put in rangoli filler depends on the size of filler. It’s size ranges from 100ml – 300 ml.
Mouth and Cover
Mouth is the portion through which you fill the rangoli colour.The mouth is covered with cover. So that the color doesn’t fall. You have to tap the cover to make the rangoli fall down.
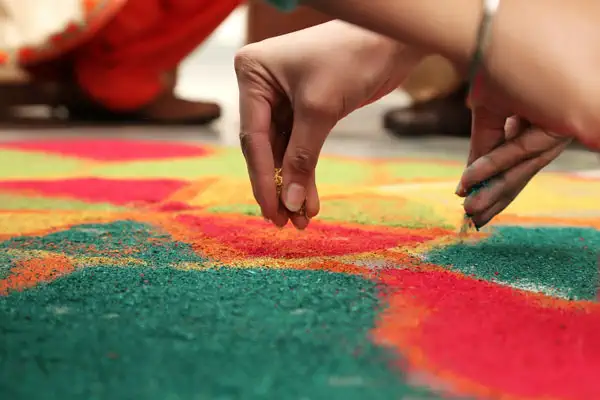
Uses of Rangoli Filler Tool
- Rangoli Filler Tool is used to spread rangoli colors over your rangoli design.
- Spread Glitter Powder or Glitter Dust
How to make Rangoli Filler at Home?
Using all the basic materials available in your home, you can make a rangoli filler tool at home. You do not need to buy anything from the local store or market. Using these materials, you will be able to reuse the waste material.
Materials Required
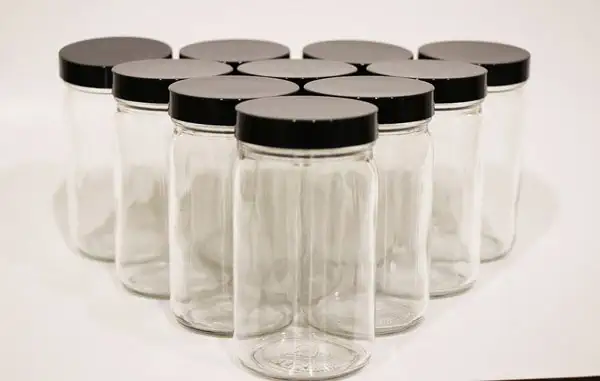
- Plastic Bottle
- Net or Tea Strainer
- Rubber Bands or Strong
- Scissors
Plastic Bottle
Plastic Bottle should have atleast a wide open end. The plastic should have cover.
Net/Tea Strainer
Net /Tea Strainer should have tiny holes. Since rangoli colours are powdery materials. To create a staining effect or garanuale effect, the holes of tainer should be small.
Rubber Bands / String
Rubber Band is required to hold the net to the plastic bootle. You can use string instead of rubber band.
Scissors/Knife
Scissors is a cutting tool to cut the plastic bottle. If the plastic bottle is hard, you can use a knife as a cutting tool.
Procedure for Making Rangoli at Home
- Cut the base of the plastic bottle with a knife. So, now you will have a plastic bottle with two open ends.
- Now take a tea strainer and cut the net from it. You can also take net with holes large enough to strain the rangoli colours.
- Now tie the net to the mouth of the plastic bottle using rubber bands. If you dont have a rubber band you can tie the net with string also.
- Your Rangoli Filler is ready.
- Fill the rangoli colour from the base of the plastic bottle and use it to sprinkle the rangoli colours to make beautiful rangoli designs.
How to use Rangoli Filler?
Using a rangoli filler is very easy, Even a child can use it. Let us see the steps of using the rangoli filler tool.
- Place the rangoli filler on the floor or over a hard surface. SO, that the color doesn’t come out from the stainer.
- Over the cover of the rangoli filler
- Fill the rangoli filler with your favourite rangoli color.
- Close the cover and its is ready to use
- Now you have to hold the rangoli filler over your design you wish to make.
- Now you have to shake and tap so that the rangoli colours come out over your rangoli design.
Maintenance of Rangoli Filler
Using a tool is not enough, you have to maintain it. Otherwise, it will lose its potential or get bad. Rangoli filler also needs maintenance after using it to make rangoli design. Let me list down how to maintain it.
Maintenance of Plastic Rangoli Filler
If you are using plastic rangoli filler, it is very easy to maintain. After using the plastic rangoli filler, wash it with clean water and dry it. Store it in a plastic wrapper to use it further. It is advisable to store plastic filler in cool place.
Maintenance of Wood/Stainless Steel Rangoli Filler
If you have wooden rangoli filler or stainless steel rangoli filler, you have to be very careful in maintaining it. After using it.
Don’t wash the rangoli filler with water. Wipe the inner and outer surface of rangoli filler with clean cloth. Store in a place away from moisture.
CONCLUSION
Summing up, now you have come to know about rangoli filler tools. You have also come to know how to make rangoli filler at home. Moreover, I have given you steps to use and maintain the rangoli filler tool.
What is a Rangoli Filler?
How to make Rangoli filler at home?
Now take a tea strainer and cut the net from it. You can also take net with holes large enough to strain the rangoli colours.
Now tie the net to the mouth of the plastic bottle using rubber bands. If you dont have a rubber band you can tie the net with string also.
Your Rangoli Filler is ready.
Fill the rangoli colour from the base of the plastic bottle and use it to sprinkle the rangoli colours to make beautiful rangoli designs.